Capatch Test Strips

ARCS is an authorized distributor of Capatch volume test strips.

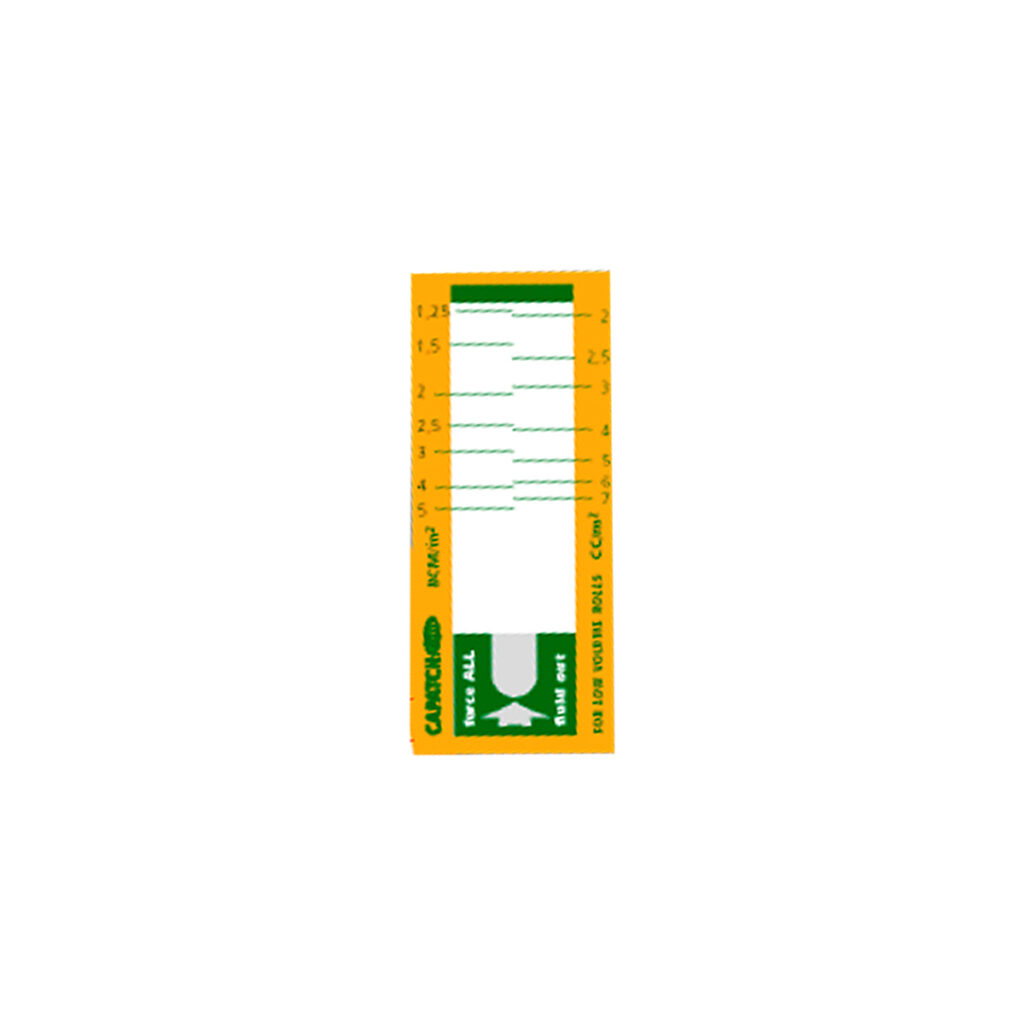
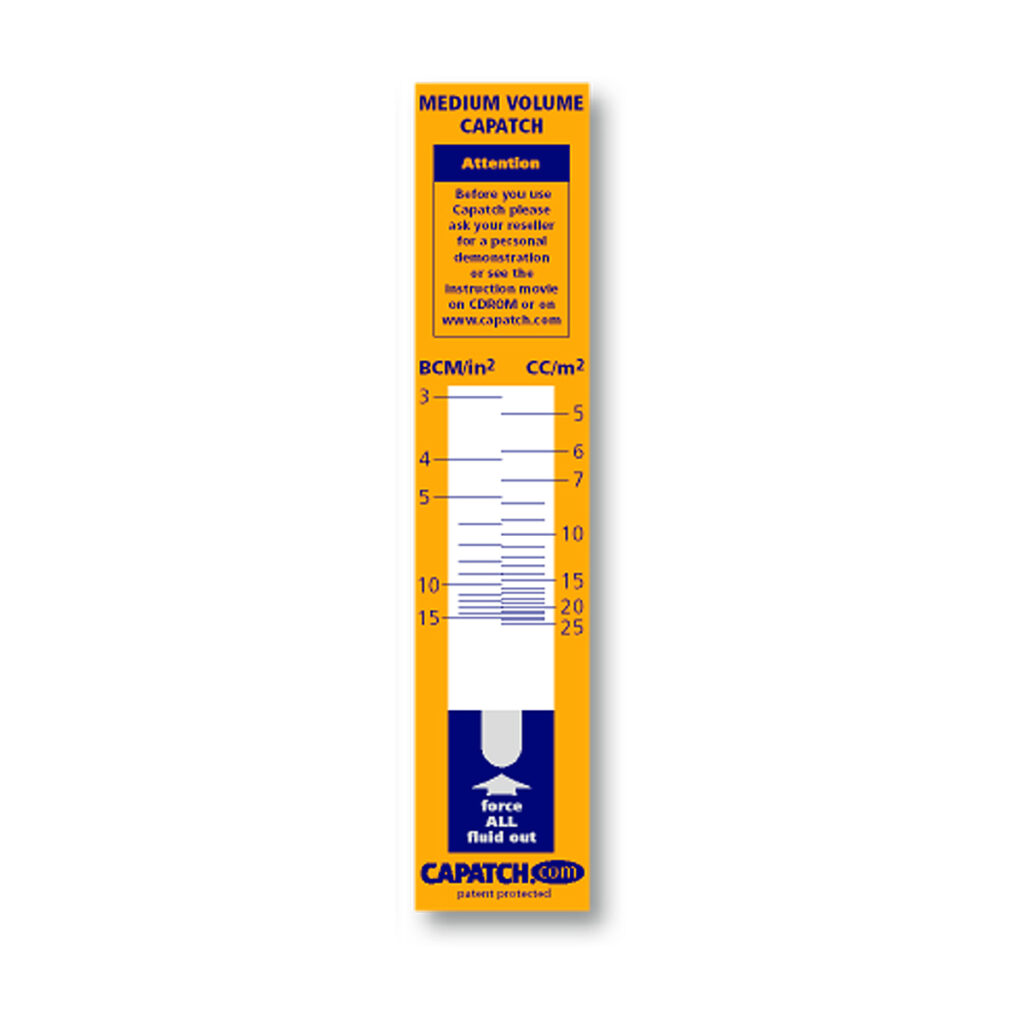
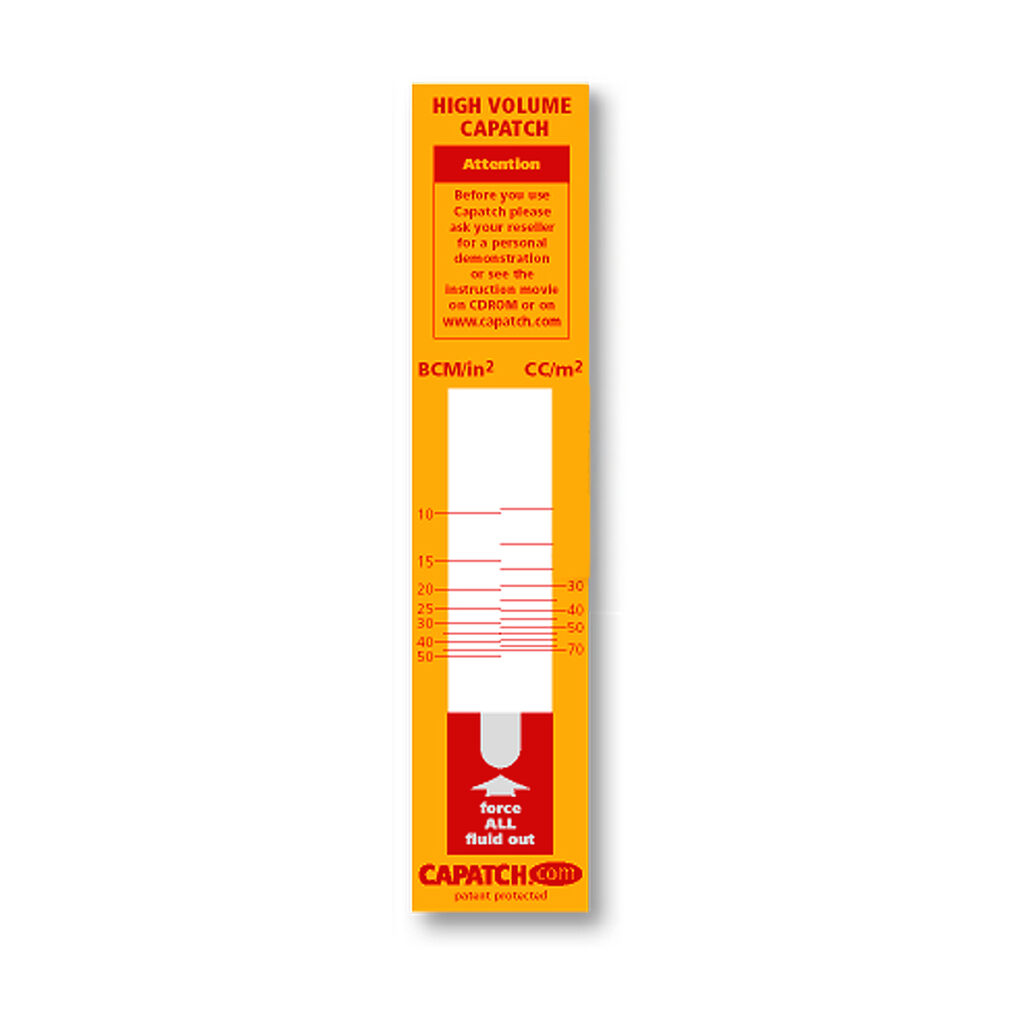
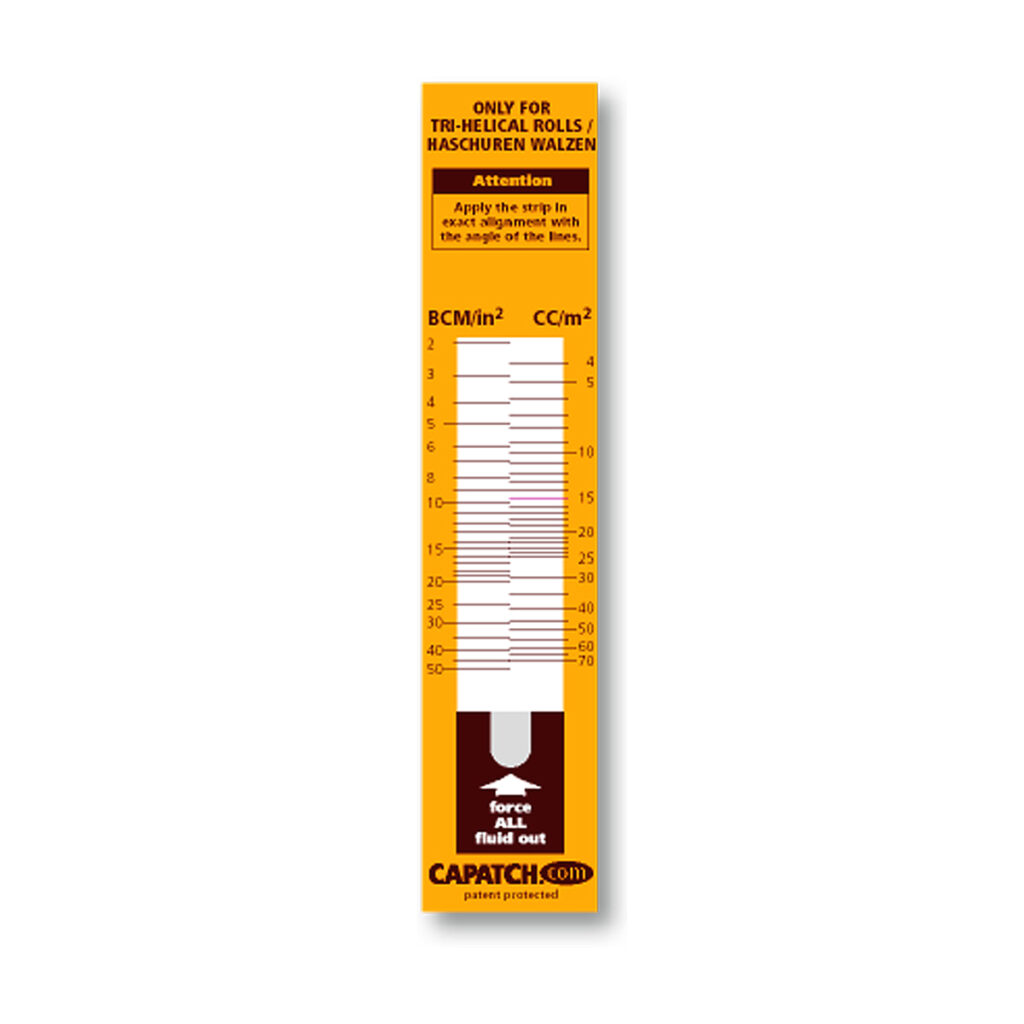
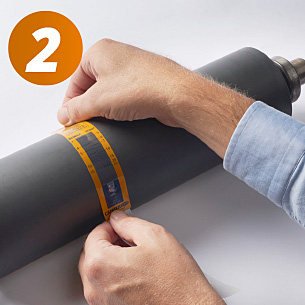
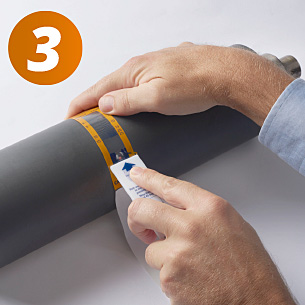
Capatch is a single-use tool designed to measure ink, adhesive, or coating volume on rolls. It features a capsule filled with indicator fluid, which is dispensed onto the roll’s surface when the doctor blade is passed over the Capatch sticker. The indicator fluid travels across the roll and fills its open cells, creating a track whose length corresponds to the volume of the cells. By measuring this length, users can determine the volume of the roll’s contents accurately.

Depending on how often a company’s production and colors change will determine how frequent printers will want to check their roll BCM.

We proudly supply Capatch test strips to converters, printers, ink reps and other printing industry professionals all over the world.

Capatch test strips can help:
Improve a company’s maintenance program
Identify inefficient operators
Diagnose quality issues
Stop production losses
Reduce production stops to five minutes or less
Prevent scrap production

$120.00

Looking to purchase 5 or more?
Request a Quote to save on larger volumes.

Capatch volume test strip (green)

Green (low volume)
1.25 – 5.00 BCM

Capatch volume test strip (dark blue)

Dark Blue (Medium Volume)
3.00 – 15.00 BCM

Capatch volume test strip (red)

Red (High Volume)
10.00 – 50.00 BCM

Capatch volume test strip (brown)

Brown (tri-helical)
2.00 – 50.00 BCM

STEP BY STEP INSTRUCTIONS:
Capatch - step by step instructions (step 1)

STEP 1:

Peel off the backing of the Capatch making sure to leave it attached to the Capatch. You will later use this attachment to remove the Capatch from the roll.

Capatch - step by step instructions (step 2)

STEP 2:

The blue, green, brown or red squares show where glue patches are located. Place the square at the top of the Capatch against the roll. Take the bottom square or the backing and stretch the Capatch downwards and place the bottom square against the roll, ensuring that it is properly attached without any wrinkles in the plastic foil and without trapping air between the foil and the roll.

Capatch - step by step instructions (step 3)

STEP 3:

Place your index finger on the arrow of the doctor blade and maintain a 45-degree angle relative to the roll throughout the doctoring process.

Starting below the marked arrow on the Capatch, gently squeeze the indicator fluid along the printed scale, using a slow but steady motion with firm pressure from the index finger (avoid using the thumb). Repeat this process until no further movement of the indicator fluid is visible.

Next, shift the doctor blade arrow to the left or right of the arrow on the capsule to extract any remaining indicator fluid, typically around 10 percent. Ensure thorough removal by repeating the doctoring process, as any residual indicator fluid can lead to inaccuracies in volume readings. Remember, the Capatch is calibrated for 100% indicator fluid extraction, so thoroughness is key to accurate measurements.

Capatch - step by step instructions (step 4)

STEP 4:

Read the result.

Does the width of the stain have some effect on the volume measurement?

Due to the properties of the indicator fluid, the width of the stain has no significant effect on the measurements and on the tolerance of plus or minus 10 percent. Several tests have proven this. The speed of the plastic doctor blade does have effect on the measurement results. Faster blade motion forward causes the stain to elongate somewhat, and less cell volume will be indicated.

Capatch - step by step instructions (step 5)

STEP 5:

Immediately remove the Capatch by tugging gently on the backing.

Capatch - step by step instructions (step 6)

STEP 6:

Always clean the roll directly after making a measurement. It might occur that you see traces of non-permanent glue on the roll. We advise you to use, ethyl acetate, isopropyl alcohol (IPA) or equivalent to clean the roll.

COMMON APPLICATION MISTAKES

doctor blade angle

You must place the doctor blade at 45 degrees against the roll. A common error is to hold the doctor blade at a shallower angle. If you make this error, more liquid goes over the cells rather than into the cells, and the result may show up to 10% less volume than the real volume. To get accurate results, all the cells under the spot must be 100% filled. So, while using Capatch, either turn the roll so that you always have your plastic doctor blade at a 45 degree angle to the roll, or tilt the blade as you proceed around the roll keeping the angle at 45 degrees to the roll at the point of contact.

doctor blade movement

Do not move the plastic doctor blade too rapidly across the surface of the roll; liquid may not get enough time to fill up the cells under the spot. The liquid should fill up the cells closest to the capsule first, then progressively the cells further away, and so on. This happens when you use repeated sharp steady movements over short distances, moving progressively upwards, to wash out the liquid from the capsule and fill the cells as you go. Do not use long or fast forward strokes from the capsule to the end of the Capatch. If you make this error, Capatch will indicate up to 10% less volume of the roll then the real volume.

measurement liquid

Make sure that no liquid remains in the capsule. You must wash out the capsule with firm short movements until you see no further change in the capsule. Any volume of liquid remaining in the capsule will cause Capatch to indicate more volume of the roll then the real volume. Experience shows that this error can be as large as 10%. A small volume of liquid remaining in the capsule might be difficult to see. Continue doctoring until there is no further change or movement in the capsule.

PROPER TECHNIQUE

You must press the doctor blade firmly onto the Capatch. The liquid layer between the Capatch and the roll must be pressed into the cells. The best way is to put your index finger on the plastic doctor blade at the end where it makes contact with the roll, and repeat the forward movements frequently until you see no liquid movement anymore between the Capatch and the roll at the place where you have been doctoring. Continue these firm motions from the beginning of the Capatch spot until the end. Always start at the arrow on Capatch below the capsule. If you do not press firmly enough, up to 10% of the liquid may remain between the roll and Capatch, and Capatch will indicate more volume of the roll then the real volume.